Remove Impeller From Pool Pump
Maintaining a pool pump is essential for keeping your swimming pool clean and functional. One critical component that may require maintenance or replacement is the impeller. The impeller is responsible for moving water through the pump and filtration system, ensuring proper circulation. Over time, impellers can become clogged with debris or worn out, leading to reduced water flow and inefficient pool operation. Learning how to remove the impeller from a pool pump is a crucial skill for pool owners who want to perform routine maintenance, troubleshoot issues, or replace faulty parts. This process involves disassembling the pump carefully and handling delicate components without causing damage.
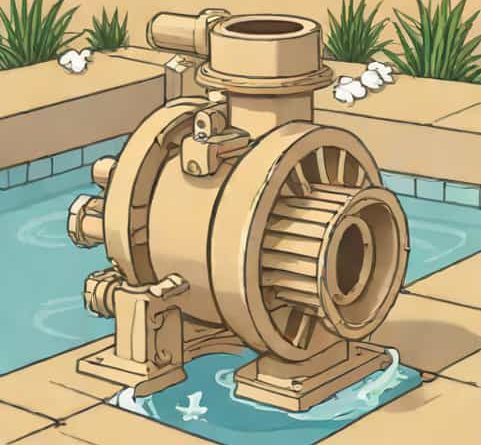
Understanding the Pool Pump Impeller
The impeller is a rotating component inside the pump housing that draws water in and pushes it through the filtration system. It is typically made of durable plastic or metal and features vanes designed to optimize water movement. When the impeller becomes clogged with leaves, hair, or other debris, or if it shows signs of wear, water circulation in the pool decreases. Recognizing the symptoms of a failing impeller, such as unusual noises, low water flow, or vibrations, helps prevent more significant damage to the pump and plumbing system.
Tools and Materials Needed
Before attempting to remove the impeller, gather the necessary tools to ensure a smooth and safe process. Having the right equipment reduces the risk of damaging the pump or its components.
- Screwdrivers (flathead and Phillips)
- Socket wrench set
- Pliers
- Lubricant or penetrating oil
- Replacement gasket or O-ring (if needed)
- Clean cloths or towels
- Bucket to catch water
Step-by-Step Guide to Removing the Impeller
Removing a pool pump impeller requires careful disassembly. The steps below outline a general process suitable for most standard pool pumps. Note that specific pump models may have slight variations, so always refer to the manufacturer’s manual.
Step 1 Turn Off Power and Drain Water
- Ensure the pool pump is turned off and disconnected from the power source.
- Close the valves on the pool plumbing to prevent water from flowing back into the pump.
- Remove the pump strainer lid and drain any water from the pump housing using a bucket or the built-in drain plug.
Step 2 Remove the Pump Housing
- Unscrew the bolts or clamps securing the pump housing to the motor assembly.
- Carefully separate the housing to expose the impeller and motor shaft.
- Set aside the housing and any gaskets or O-rings to avoid misplacement.
Step 3 Detach the Impeller
- Locate the impeller on the motor shaft. It is typically held in place with a nut or screw.
- Apply a small amount of penetrating oil if the impeller is difficult to remove due to corrosion or debris buildup.
- Use a wrench or pliers to loosen the securing nut carefully, turning it counterclockwise.
- Gently slide the impeller off the motor shaft. Avoid forcing it, as this can damage the shaft or motor bearings.
Step 4 Inspect the Impeller
Once removed, examine the impeller for signs of damage or clogging. Look for cracks, broken vanes, or accumulated debris. Cleaning the impeller may restore its function if damage is minimal, but replace it if it is worn or broken to maintain optimal pump performance.
Cleaning and Maintenance Tips
Proper maintenance of the impeller and pump components can extend the life of your pool pump. Regular inspection and cleaning help prevent costly repairs and ensure efficient operation.
Cleaning the Impeller
- Use a soft brush or cloth to remove debris and buildup from the impeller vanes.
- Rinse thoroughly with clean water to remove any remaining ptopics.
- Inspect the motor shaft and pump housing for obstructions or signs of wear.
Preventive Maintenance
- Regularly check and clean the pump strainer basket to prevent debris from reaching the impeller.
- Inspect gaskets and O-rings for wear and replace them as needed to maintain a proper seal.
- Lubricate motor bearings and other moving parts according to the manufacturer’s instructions.
Reassembling the Pool Pump
After removing, inspecting, or replacing the impeller, reassemble the pump carefully to restore functionality. Follow these steps to ensure correct reinstallation
Step 1 Reinstall the Impeller
- Slide the impeller back onto the motor shaft, ensuring it fits securely.
- Tighten the securing nut carefully without over-tightening, which can damage the shaft or impeller.
Step 2 Reattach the Pump Housing
- Place the pump housing back onto the motor assembly, ensuring gaskets and O-rings are correctly positioned.
- Secure the housing with bolts or clamps, tightening evenly to avoid leaks.
Step 3 Refill and Test
- Open the plumbing valves and refill the pump housing with water.
- Reconnect the power and turn on the pump.
- Check for proper operation, ensuring that water flows smoothly and there are no leaks or unusual noises.
Safety Precautions
Working with a pool pump involves water and electricity, so safety is critical. Always disconnect power before performing maintenance, wear protective gloves if handling sharp components, and avoid forcing parts during disassembly. Following these precautions minimizes the risk of injury or damage.
Removing the impeller from a pool pump is an essential skill for pool maintenance and repair. By understanding the function of the impeller, gathering the necessary tools, and following careful step-by-step procedures, pool owners can clean, inspect, or replace this vital component effectively. Regular maintenance of the impeller ensures optimal water circulation, enhances pool cleanliness, and prolongs the life of the pump. Whether you are performing routine cleaning or troubleshooting issues, knowing how to remove and handle the impeller properly keeps your pool in excellent working condition.