How To Put Earmuff Back On Headphones
Headphones are a staple for anyone who enjoys music, podcasts, or gaming, but over time, the ear cushions or earmuffs can become loose, worn out, or completely detached. Knowing how to put an earmuff back on headphones is an essential skill that ensures comfort, sound quality, and longevity of your device. While it may seem simple, different headphone models have unique designs, and improper handling can damage the headphones or the earmuff. This guide will provide detailed steps, tips, and precautions for reattaching earmuffs to headphones, helping you maintain your audio equipment in optimal condition.
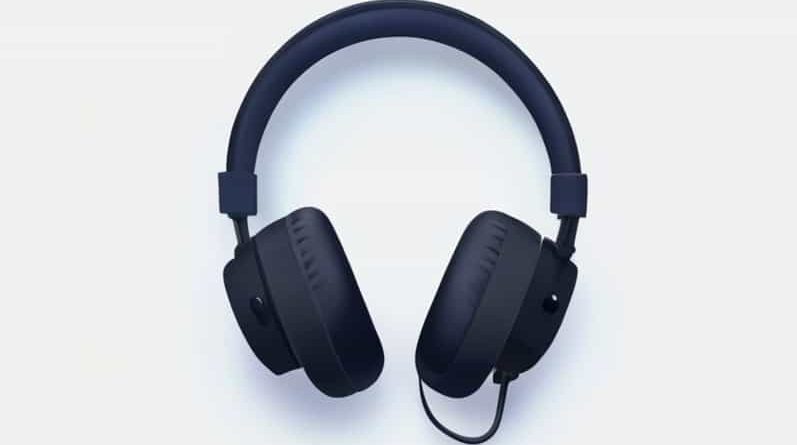
Understanding Headphone Earmuffs
Headphone earmuffs, also called ear pads or cushions, serve multiple purposes. They provide comfort during extended listening, improve sound isolation, and help deliver accurate audio quality by creating a proper seal around your ears. Earmuffs are typically made of foam, memory foam, or gel covered with leatherette, fabric, or velour. Knowing the materials and attachment mechanism is important for successfully putting them back on.
Types of Earmuff Attachments
- Clip-On or Snap-OnThe earmuff has a plastic or metal rim that clips into the headphone frame.
- Stretch-On or Slip-OnThe cushion has an elastic rim that stretches over the ear cup.
- Screw-On or AdhesiveSome models use screws or adhesive strips to attach the earmuff securely.
Preparation Before Reattaching
Before attempting to put the earmuff back on, it is important to prepare your workspace and inspect both the headphones and the cushion. Proper preparation ensures smooth reattachment and prevents damage.
Clean the Headphones and Earmuff
Remove dust, debris, or old adhesive residues from the headphone ear cups and the earmuff rim. Use a soft cloth or cotton swab dampened with water or mild cleaning solution. Cleaning the surfaces ensures the cushion fits properly and maintains hygiene.
Check for Damage
Examine the earmuff for tears, flattened foam, or stretched elastic. Inspect the headphone ear cup for broken clips, cracks, or worn edges. If either part is damaged, consider replacing it instead of forcing reattachment, as this may damage your headphones.
Step-by-Step Guide to Reattaching Earmuffs
The steps for putting an earmuff back on your headphones vary depending on the attachment type. Following these steps carefully will help you secure the cushion properly.
Clip-On or Snap-On Earmuffs
- Align the cushion with the ear cup so that the clips match the slots on the headphone frame.
- Starting at one side, gently press the cushion into the slot until it clicks into place.
- Move around the circumference of the ear cup, pressing the clips in one by one until the cushion is fully secured.
- Check all sides to ensure no clip is left unfastened, as this can affect comfort and audio performance.
Stretch-On or Slip-On Earmuffs
- Identify the elastic rim or lip of the cushion.
- Starting at one point, stretch the cushion over the edge of the ear cup.
- Continue moving around the ear cup, carefully stretching the cushion to fit evenly.
- Adjust the cushion so it sits snugly without wrinkles or gaps, ensuring a proper seal for optimal sound.
Screw-On or Adhesive Earmuffs
- If screws were used, align the cushion with the mounting points and insert the screws, tightening them gently to avoid stripping the threads.
- If adhesive is used, apply a thin, even layer on the ear cup or the cushion rim as instructed by the manufacturer.
- Press the cushion firmly into place and hold for the recommended time to ensure a strong bond.
- Allow adhesive to cure if necessary before using the headphones.
Tips for a Successful Reattachment
Even with clear instructions, certain techniques can improve your chances of securing the earmuff correctly and preserving headphone integrity.
Use Gentle Pressure
Applying too much force can tear the cushion or break the headphone frame. Use moderate pressure, adjusting as needed to guide the cushion into place.
Work Slowly
Take your time to ensure the cushion aligns correctly and fits securely. Rushing can lead to misalignment, which can affect comfort and audio quality.
Check Comfort and Fit
Once the earmuff is attached, wear the headphones briefly to ensure comfort and stability. The cushion should sit evenly around your ear, with no gaps or uneven pressure points.
Rotate or Adjust if Needed
If the cushion feels uneven, remove it and try again. Some cushions may require slight rotation or adjustment to achieve the perfect fit.
Maintaining Headphone Earmuffs
Proper maintenance can extend the life of your headphones and prevent frequent detachment of earmuffs. Following simple care tips ensures longevity and comfort.
Regular Cleaning
Wipe down cushions and ear cups regularly to remove sweat, oils, and dust. This keeps the material in good condition and reduces slipping or loosening over time.
Avoid Excessive Stretching
When removing or attaching cushions, avoid pulling or stretching them excessively. Overstretching elastic rims or foam can cause permanent deformation.
Store Properly
Keep your headphones in a protective case when not in use. This prevents accidental bumps, deformation, or loosening of cushions.
Replace When Necessary
Even with careful handling, earmuffs eventually wear out. Replace them with compatible cushions from the manufacturer to maintain sound quality and comfort.
Reattaching an earmuff to headphones is a straightforward process once you understand the type of attachment, preparation steps, and techniques required. By inspecting and cleaning the components, following step-by-step instructions for clip-on, stretch-on, or screw-on cushions, and using gentle pressure, you can restore your headphones to their original comfort and performance. Regular maintenance, proper handling, and timely replacement of worn cushions further ensure your headphones remain comfortable, functional, and enjoyable to use. Whether you are using headphones for music, gaming, or work, mastering how to put an earmuff back on keeps your audio experience seamless and satisfying.